What Makes a Membership Site
A membership site has two layers: public content that anyone can see, and protected content that only registered (or paying) members can access. Think of it as a velvet rope for your website.
Common examples:
• Online courses — Free preview + paid lessons behind a login wall.
• Premium newsletters — Public archives + exclusive posts for subscribers.
• Community platforms — Open landing page + members-only forums and resources.
• Client portals — Public marketing site + private dashboards for each client.
• SaaS tools — Landing page + authenticated app area.
Traditionally, building any of these required a backend, a database, user management, and weeks of development. With Framer + Auth Plugin, you can build a fully functional membership site in an afternoon.
Planning Your Site Architecture
Before building, plan which pages are public and which are protected:
Public Pages (no login required):
• / — Homepage with value proposition
• /sign-in — Login page
• /sign-up — Registration page
• /forgot — Password reset request
• /reset — Set new password
• /pricing — Plan comparison (if applicable)
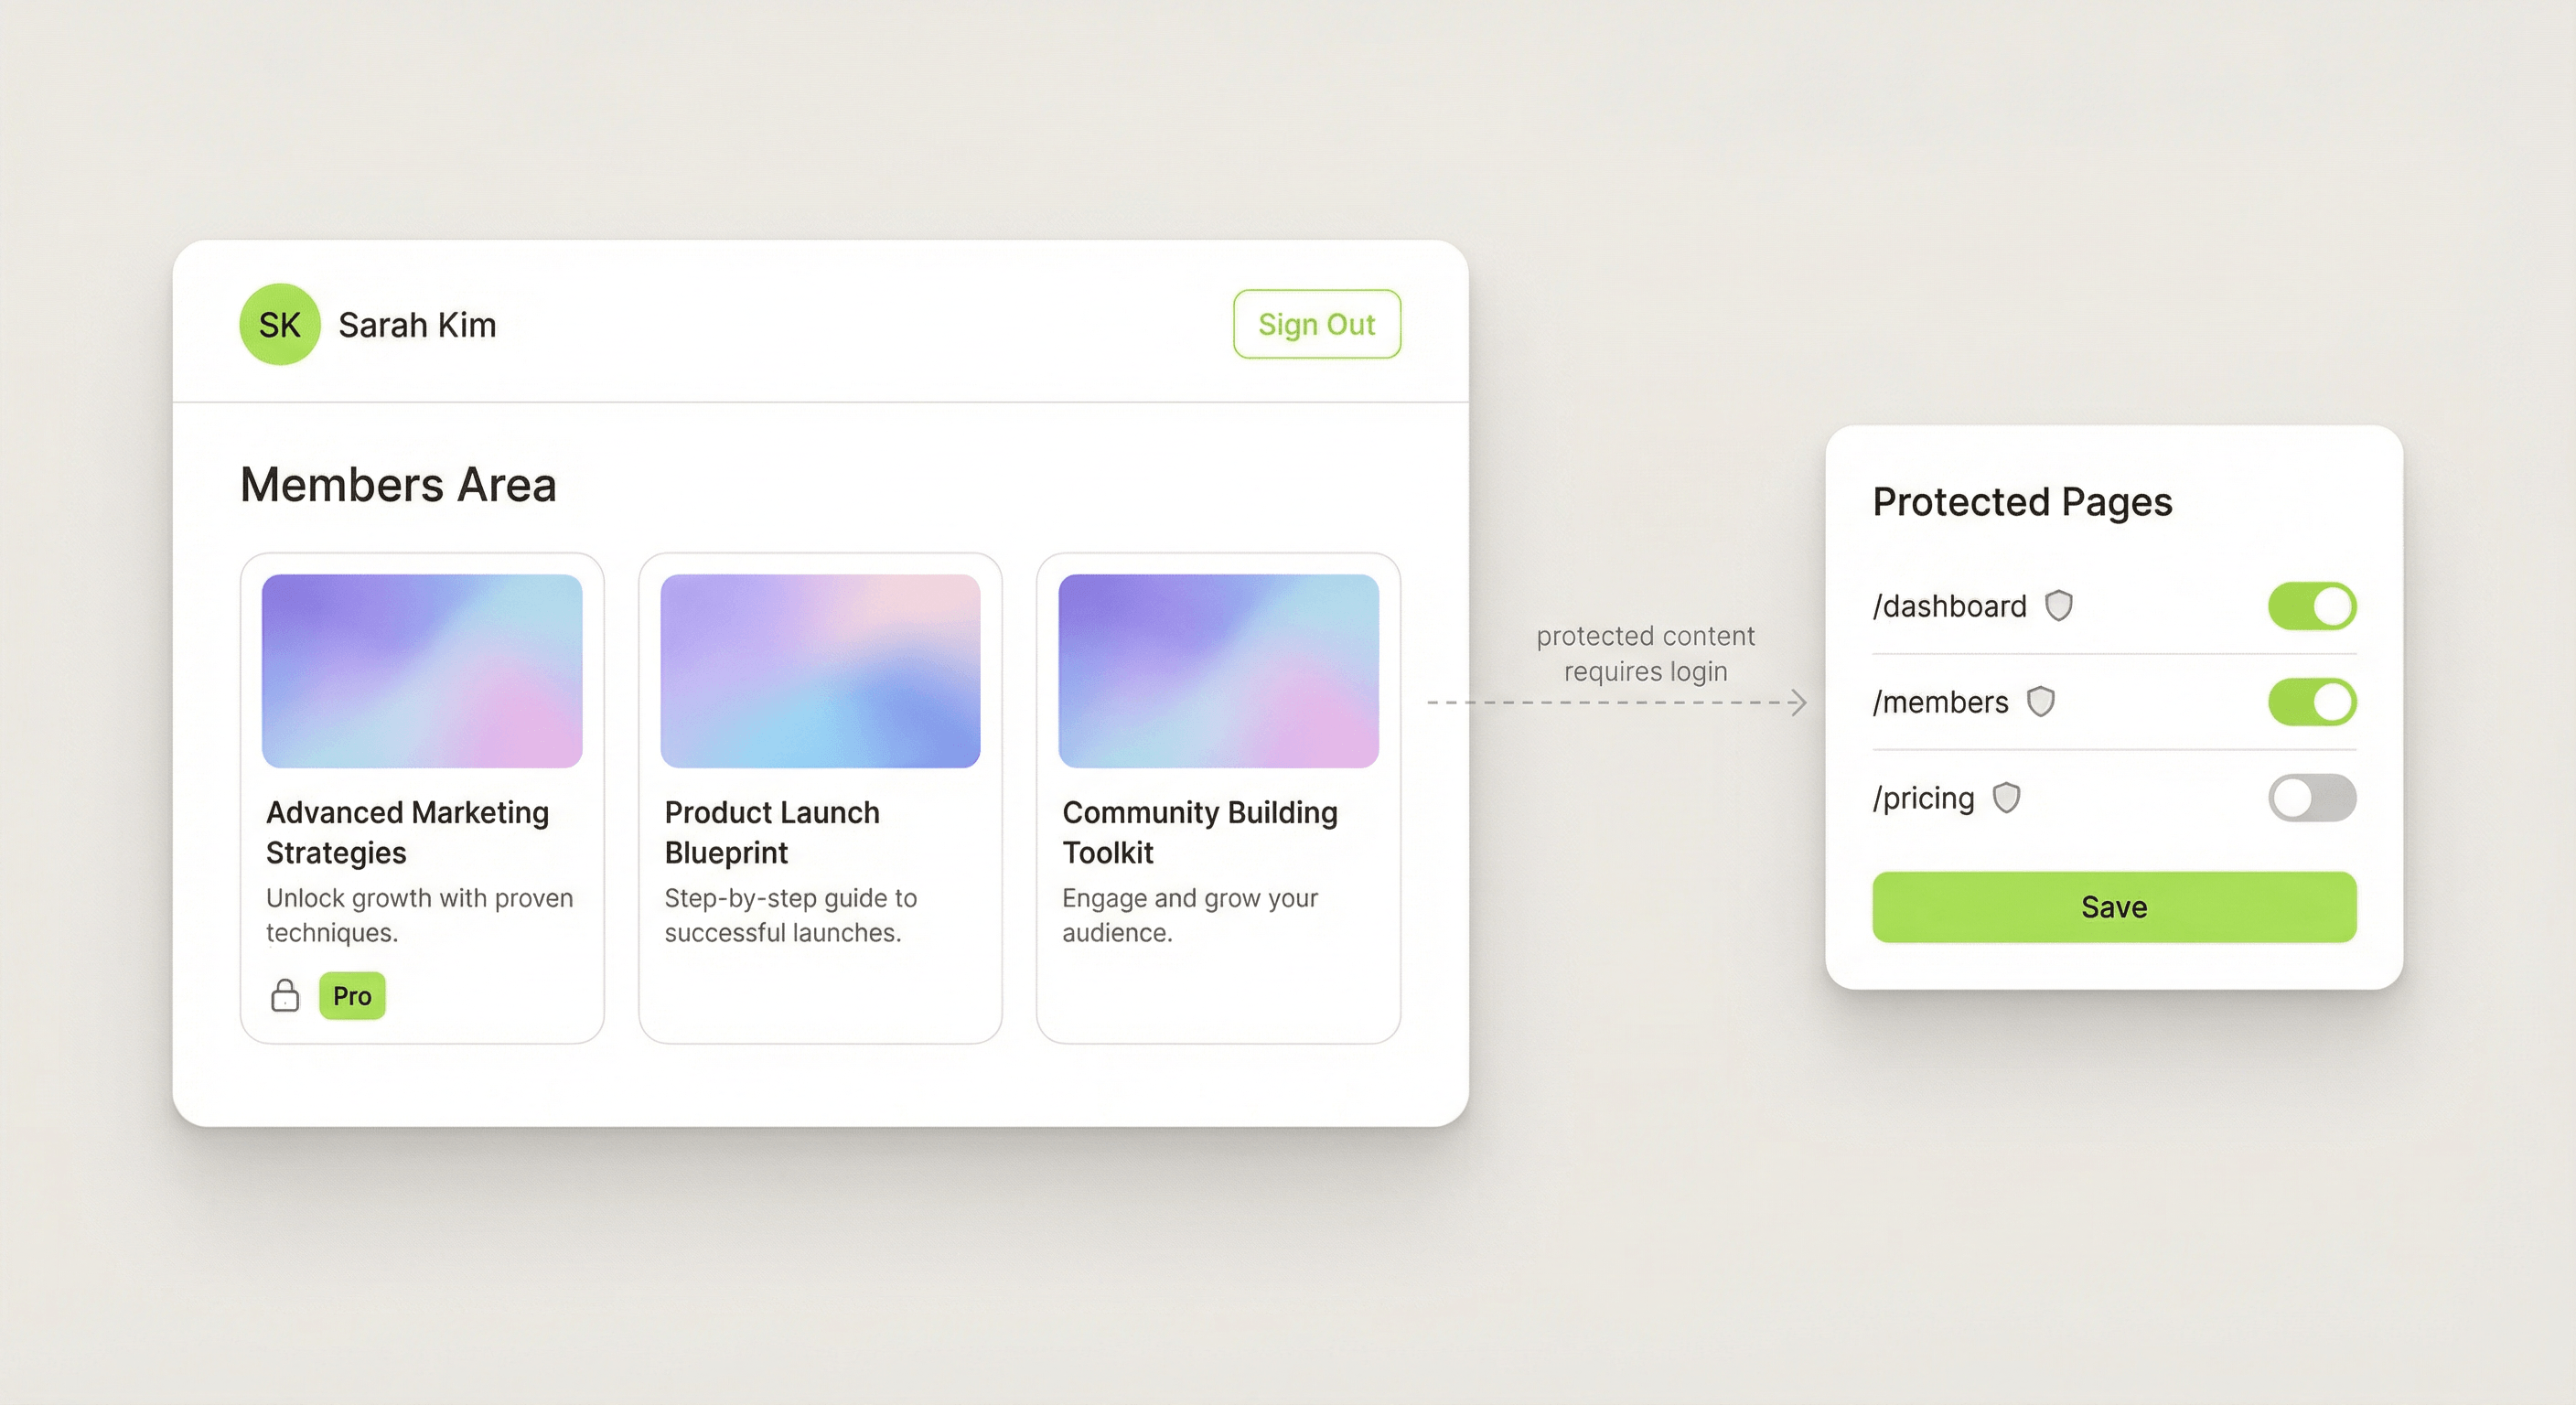
Protected Pages (login required):
• /dashboard — Main member area
• /account — Profile settings and avatar
• /content — Members-only content
This is a starting point. You can add more pages on either side based on your needs. The key rule: anything behind the login wall goes on a protected page.
Setting Up Authentication
1. Install and run Setup Wizard
Install Auth Plugin from the Framer Marketplace. Run the 4-step setup wizard to connect your workspace and insert scripts.
2. Create auth pages
Create these pages in Framer and insert the corresponding components:
• /sign-in → Sign In Form
• /sign-up → Sign Up Form
• /forgot → Forgot Password Form
• /reset → Reset Password Form
3. Configure Protected Pages
In the plugin panel, go to Protected Pages and add:
• /dashboard
• /account
• /content (and any other member-only routes)
Now, any visitor who tries to access these pages without being signed in will be redirected to /sign-in automatically.
Building the Member Dashboard
The dashboard is what members see after signing in. Here's how to build a great one:
Header/Navigation:
• Add an Avatar component — shows the member's profile picture or initials.
• Add an Identity Label — displays the member's name ("Welcome back, Sarah").
• Add a Sign Out Button — lets members log out.
Content Area:
Design your dashboard content in Framer as you normally would. Since the page is protected, only authenticated users will ever see it.
Code Overrides (Optional):
Use ShowWhenAuthenticated on elements that should only appear for logged-in users. Use IdentityName on a text element to dynamically show the user's name.
Adding Profile Management
Members expect to manage their profile. Here's the setup:
1. Create a page at /account
2. Add it to Protected Pages in the plugin
3. Insert the Profile Form component — it auto-populates with the current user's name and email
4. Insert the Avatar component — lets users upload a profile picture
The Profile Form includes a save button with loading state and success feedback. Users can update their name and email. The Avatar component shows their photo or falls back to initials (e.g., "JD" for John Doe) with a hover upload button.
Membership Site Design Tips
Keep the sign-up friction low. Only ask for name, email, and password. You can collect more data later through the profile page.
Add social proof on public pages. Testimonials, member counts, and success stories help convert visitors into members.
Make the value clear before the gate. Don't hide everything behind login. Show previews, teasers, or free samples so visitors know what they're getting.
Design a great empty state. New members who just signed up see an empty dashboard. Add onboarding tips, getting-started guides, or welcome messages.
Link between auth pages. Sign In should link to Sign Up ("Don't have an account?"). Sign Up should link to Sign In ("Already have an account?"). Forgot Password should be accessible from Sign In.
Launching Your Membership Site
Before launching:
• Test the full flow — Sign up → verify email → sign in → access dashboard → update profile → sign out → sign in again.
• Test protected pages — Open a protected URL in an incognito window. You should be redirected to /sign-in.
• Test password reset — Request a reset, check the email, click the link, set a new password.
• Check branding — Make sure your auth emails have your logo, colors, and app name.
• Monitor identities — After launch, check the Identities page in the plugin to see signups rolling in.
That's it. You now have a fully functional membership site built entirely in Framer.