Why Your Framer Site Needs Authentication
Framer is no longer just a prototyping tool. People are building SaaS dashboards, membership sites, client portals, and course platforms on it. But every one of these use cases has a common requirement: knowing who your user is.
Without authentication, every page on your site is public. Anyone with the URL can see everything. That might work for a landing page, but the moment you need a dashboard, a members area, or any kind of personalized experience — you need auth.
The problem? Framer doesn't have built-in authentication. Traditionally, you'd need a backend server, a database, session management, and weeks of development time. Auth Plugin changes that entirely.
What Auth Plugin Gives You
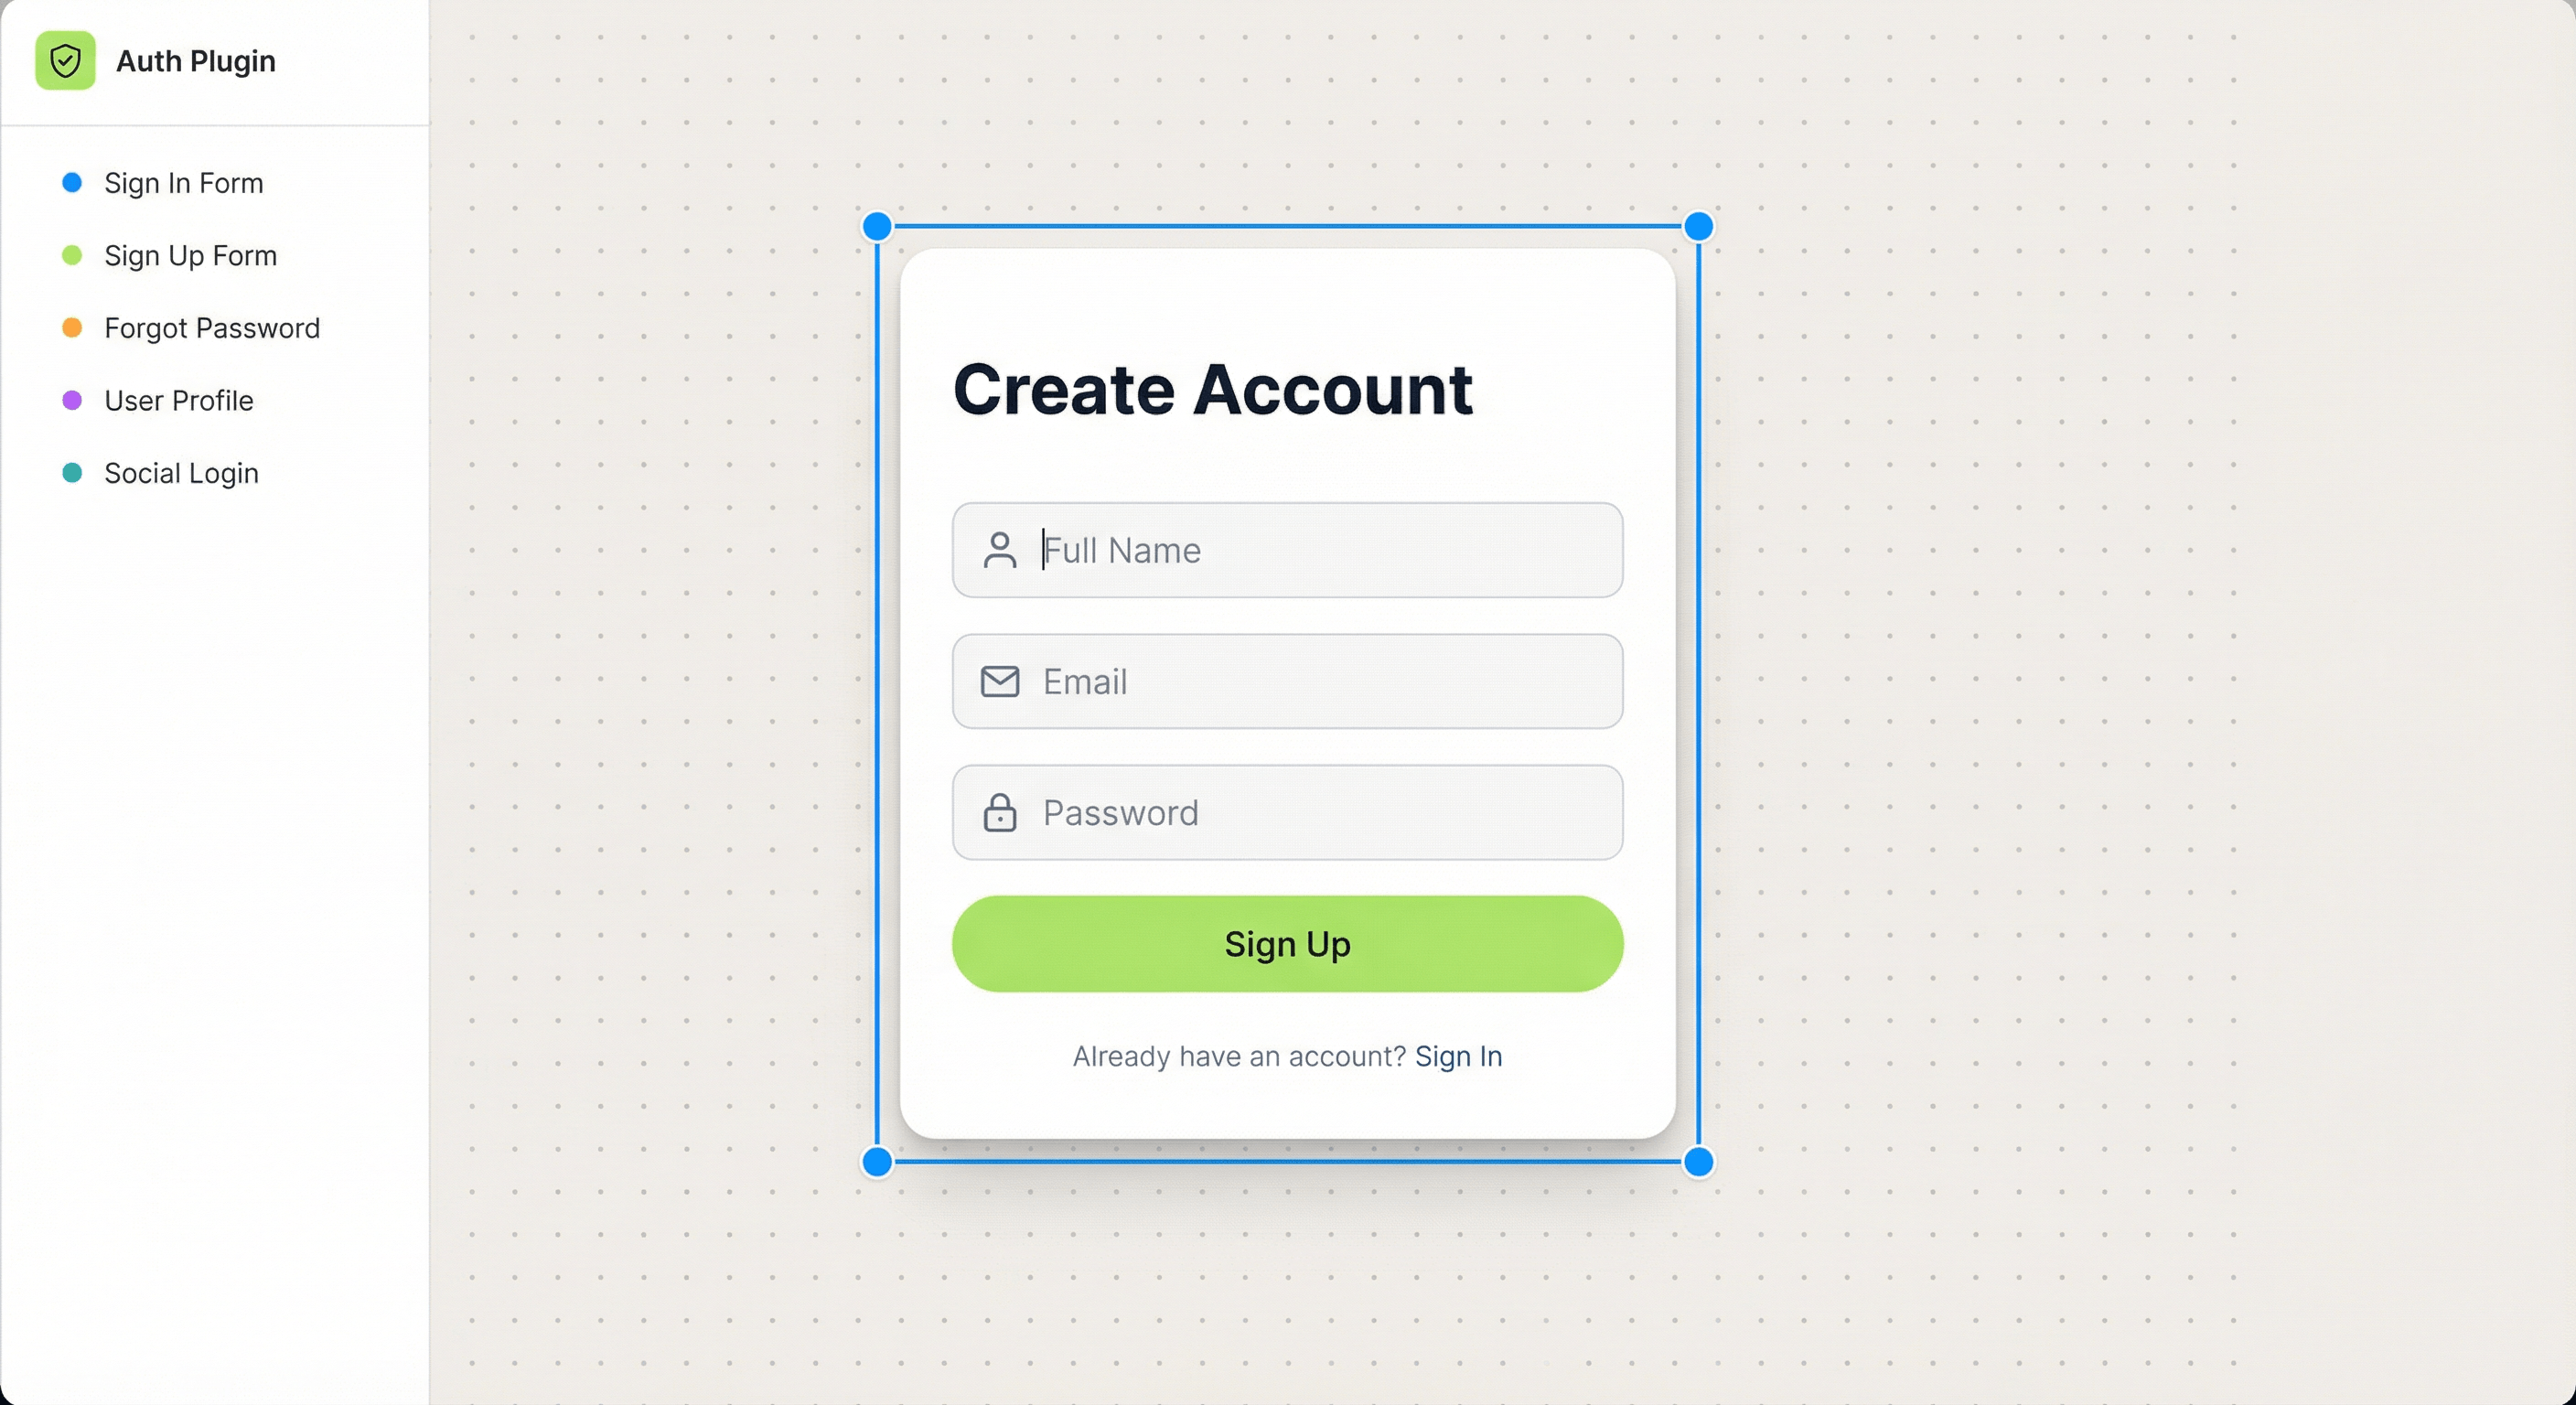
Auth Plugin is a Framer Marketplace plugin that adds a complete auth system to your site:
• Sign In & Sign Up Forms — Pre-built, customizable, with validation and error handling.
• Password Reset Flow — Forgot password and reset password forms with secure token-based email links.
• OTP Verification — Two-step email code verification for extra security.
• Magic Link Login — Passwordless sign-in where users click a link in their email.
• Google OAuth — One-click Google sign-in with auto account linking.
• Protected Pages — Block unauthenticated users from accessing specific pages.
• User Management — View all registered users, their status, and activity from the plugin panel.
• Code Overrides — Show/hide any Framer element based on auth state.
• Custom Branding — Your logo, colors, and app name on all auth emails.
Everything works out of the box. No backend, no API keys, no deployment pipeline.
Step-by-Step Setup
Here's the complete process from zero to working authentication:
Step 1: Install the Plugin
Open your Framer project, go to Plugins, search "Auth Plugin", and click Install. Open it from the Plugins panel.
Step 2: Run the Setup Wizard
The wizard has 4 steps:
• Connect Workspace — Links your Framer project to Auth Plugin's backend.
• Configure Protected Pages — Choose which routes require login (e.g., /dashboard, /account).
• Insert Scripts — Two scripts are auto-injected: the Shield Script (blocks unauthorized access) and the Relay Script (manages session tokens).
• Insert Components — Starter components (Sign In, Sign Up, Sign Out) are added to your assets.
Step 3: Create Your Auth Pages
Create pages in Framer and drop the components onto them:
• /sign-in → Sign In Form
• /sign-up → Sign Up Form
• /forgot → Forgot Password Form
• /reset → Reset Password Form
Step 4: Publish and Test
Publish your site. Visit a protected page — you'll be redirected to sign-in. Create an account, sign in, and access your dashboard. Check the Identities page in the plugin to see your new user.
Choosing Your Auth Method
Auth Plugin supports multiple authentication methods. You can use one or combine several:
Email & Password — The classic approach. Best for apps where users visit regularly and want a permanent account. Use the Sign In Form and Sign Up Form components.
Magic Link — Users enter their email and receive a link. One click and they're in. No password to remember. Best for newsletter-driven products, low-frequency apps, and mobile-first sites.
OTP Verification — Users enter their email, receive a 4-6 digit code, and type it in. Best for high-security apps or as a second factor alongside email/password.
Google OAuth — One-click sign-in with an existing Google account. Best for consumer-facing apps where you want minimal friction. Set up in Settings > OAuth with your Google Client ID and Secret.
You can offer multiple methods on the same sign-in page. For example, a Sign In Form with a Google OAuth button below it.
Customizing the Experience
Every component is fully customizable through Framer's property controls:
• Accent Color — Match your brand color on buttons and focus rings.
• Border Radius — Square, rounded, or fully circular inputs.
• Button Text — Change "Sign In" to "Log In", "Get Started", or anything else.
• Redirect URLs — Control where users go after login or signup.
For emails (welcome, password reset, magic link, OTP), go to Settings > Branding:
• Set your app name and logo
• Choose your primary color and button text color
• Add a support email for the footer
Preview your emails in Settings > Email Preview before publishing.
Common Mistakes to Avoid
Not publishing before setup — The plugin needs a published URL to connect your workspace. Publish at least once before running the setup wizard.
Hiding content with CSS instead of Protected Pages — CSS display:none is not security. Anyone can inspect the DOM. Protected Pages block at the network level — the page never loads for unauthorized users.
Forgetting the reset password page — If you add a forgot password form, you must also create a /reset page with the Reset Password Form. The email link points there.
Removing the scripts — The Shield Script and Relay Script in your site's custom code are essential. Don't remove them manually.
Not testing on the published site — Auth flows don't work in Framer's canvas preview. Always test on your published URL.