Why Add Google Sign-In
Google OAuth lets users sign in with their existing Google account. One click, no new password to create, no email verification step. They're authenticated instantly.
Here's why it matters for your Framer site:
• Less friction — Users don't need to create yet another account. Their Google credentials are already saved in their browser.
• Higher conversion — Sites with social login see 20-40% higher signup rates compared to email/password only.
• Trust signal — "Sign in with Google" is a familiar, trusted button. Users feel safe clicking it.
• Verified email — Google provides a verified email address. No need for email verification flows.
• Auto account linking — If a user already registered with email/password and later clicks "Sign in with Google" using the same email, Auth Plugin automatically links the accounts.
Step 1: Create a Google OAuth App
First, you need credentials from Google Cloud Console:
1. Go to console.cloud.google.com
2. Create a new project (or select an existing one)
3. Navigate to APIs & Services → Credentials
4. Click Create Credentials → OAuth 2.0 Client IDs
5. Set the application type to Web application
6. Give it a name (e.g., "My Framer Site")
7. Under Authorized redirect URIs, add:
https://api.authplugin.io/v1/oauth/callback
8. Click Create
9. Copy the Client ID and Client Secret — you'll need both.
The redirect URI must match exactly. This is where Google sends users after they authorize your app. Auth Plugin handles everything from there.
Step 2: Configure the Consent Screen
Before users can sign in, you need to set up the OAuth consent screen:
1. In Google Cloud Console, go to APIs & Services → OAuth consent screen
2. Choose External user type (unless this is an internal company tool)
3. Fill in the required fields:
• App name — Your site name (users see this during sign-in)
• User support email — Your contact email
• Developer contact email — Same or different
4. Under Scopes, add:
• email — To read the user's email address
• profile — To read the user's name
• openid — Required for authentication
5. Save and continue
If your app is in "Testing" mode, only test users you explicitly add can sign in. For production, submit the app for Google's verification (takes 1-3 days).
For testing during development, add your own email as a test user.
Step 3: Configure Auth Plugin
Now enter your credentials in the plugin:
1. Open Auth Plugin in your Framer project
2. Go to Settings → OAuth tab
3. Toggle Google to ON
4. Paste your Client ID in the Client ID field
5. Paste your Client Secret in the Client Secret field
6. Click Save Settings
That's it on the plugin side. Auth Plugin now knows how to authenticate users via Google.
The callback URL shown in the settings panel should match what you entered in Google Cloud Console:
https://api.authplugin.io/v1/oauth/callback
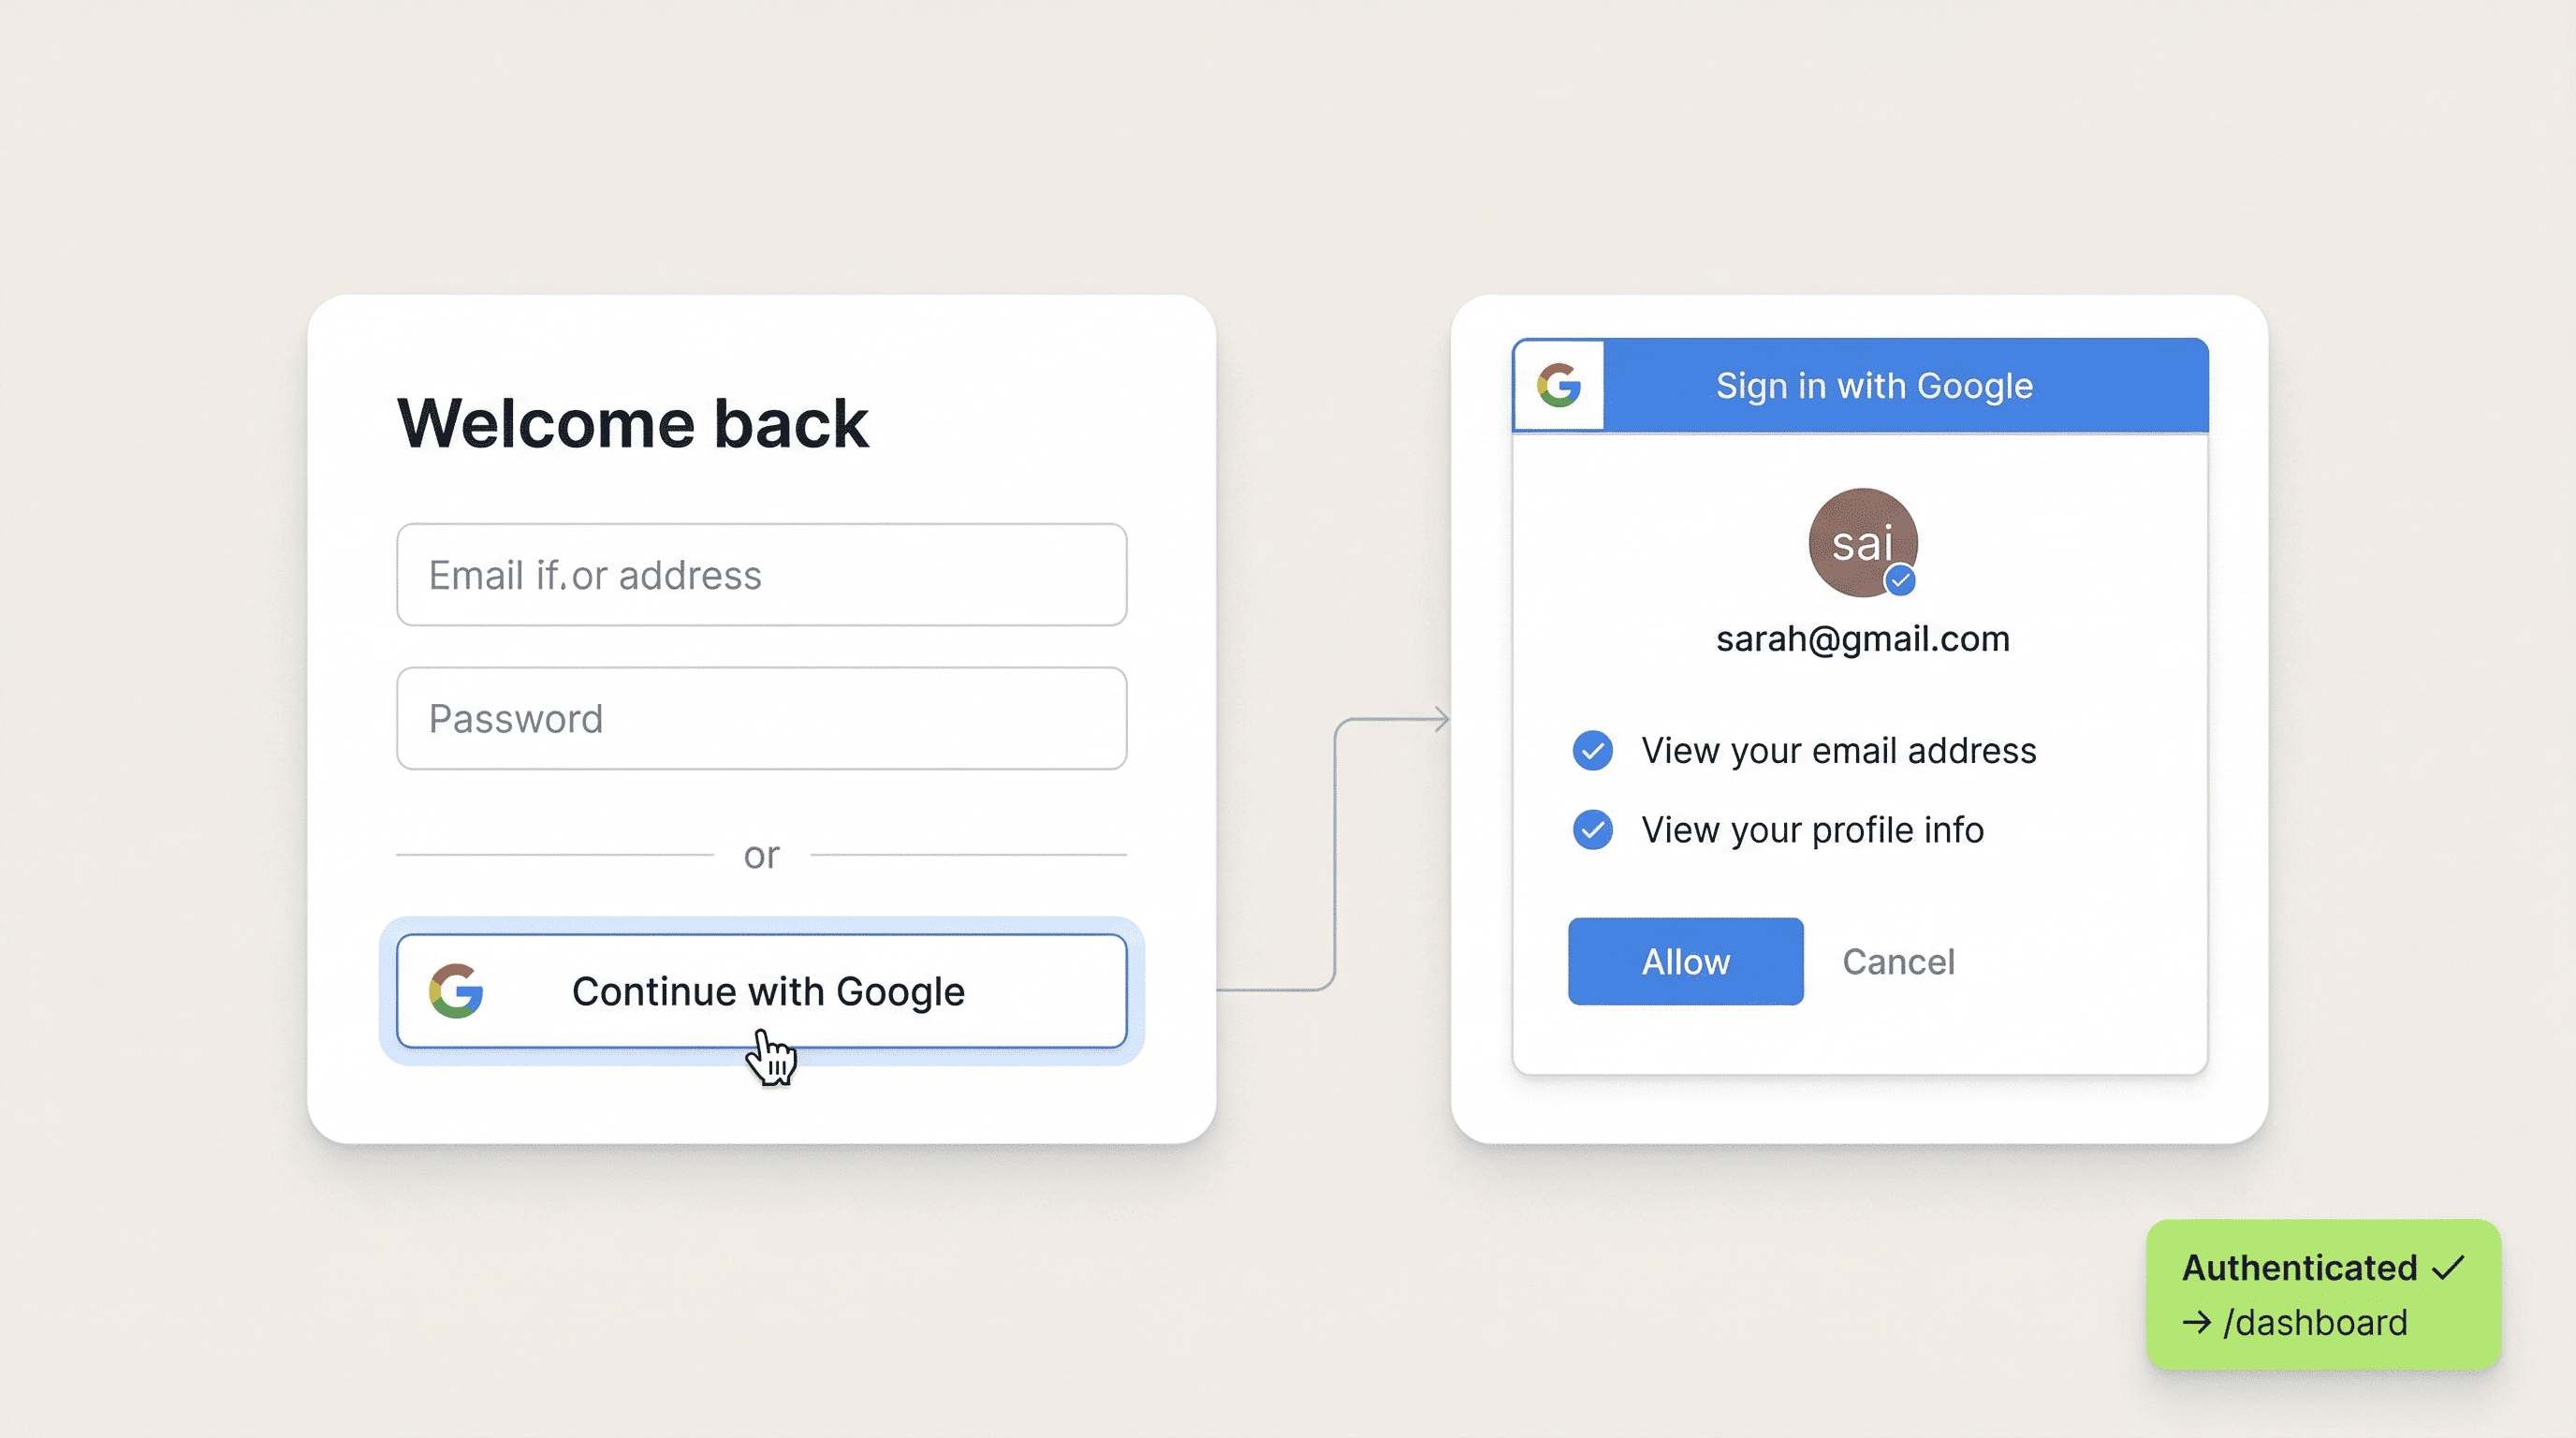
Step 4: Add Google Sign-In to Your Page
Google OAuth works alongside your existing sign-in flow. Users who prefer email/password can still use it. Those who want one-click Google login get that option too.
The Sign In Form component automatically shows a "Sign in with Google" button when Google OAuth is enabled in your settings. No additional component needed.
If you want to customize the experience:
• Accent Color — The Google button follows its own official branding (white background, Google logo), but your form's accent color applies to the email/password fields.
• Redirect URL — After Google sign-in, users are redirected to the URL configured on your Sign In Form component (e.g., /dashboard).
• New users — If someone signs in with Google and doesn't have an account yet, Auth Plugin automatically creates one using their Google name and email.
Step 5: Test the Flow
Always test on your published site (not in Framer's canvas preview):
1. Publish your site — Auth flows only work on published URLs
2. Open your sign-in page — You should see the Google sign-in button
3. Click it — Google's consent screen appears
4. Authorize — Select your Google account and approve
5. Check redirect — You should land on your dashboard or configured redirect URL
6. Verify the identity — Open Auth Plugin → Identities. Your Google account should appear with your name and email.
If you see an error about "redirect_uri_mismatch", double-check that the callback URL in Google Cloud Console matches exactly:
https://api.authplugin.io/v1/oauth/callback
Common Issues & Fixes
"Error 400: redirect_uri_mismatch"
The callback URL in Google Cloud Console doesn't match. Make sure it's exactly: https://api.authplugin.io/v1/oauth/callback — no trailing slash, no http (must be https).
"Access blocked: This app's request is invalid"
Your OAuth consent screen isn't configured or is missing required fields. Go back to Step 2 and fill in all required information.
"This app isn't verified"
Your Google app is in testing mode. Either add your test email as a test user, or submit the app for Google verification.
Google button doesn't appear on the sign-in page
Make sure Google OAuth is enabled in Auth Plugin → Settings → OAuth. Save settings and republish your site.
User signed in with Google but can't access protected pages
Check that the Protected Pages are configured correctly and that the user's identity appears in Auth Plugin → Identities.